Create and Share a Padlet
You may be required to create a Padlet as part of an individual or group assessment task. This guide will show you how to create a Padlet, share the link with any group members so they can contribute and copy the Padlet link for submission purposes.
Access PadletUQ
For step-by-step instructions on how to access PadletUQ, refer to the Access PadletUQ on a Computer guide.
Create a Padlet
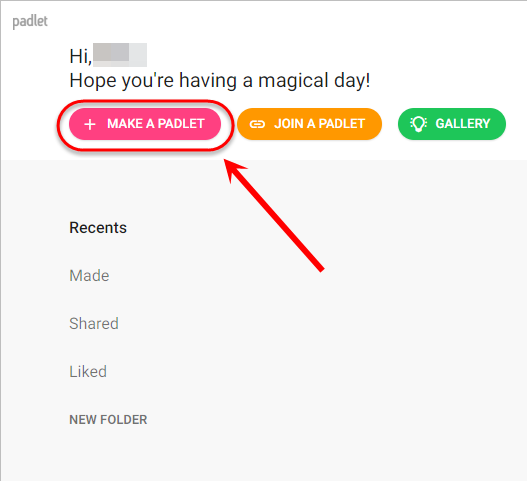
- Click on the MAKE A PADLET button.
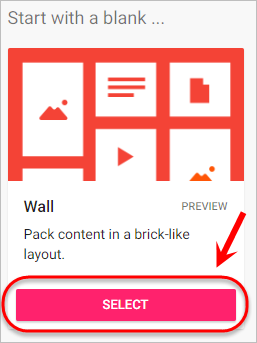
- Click on the Select button to choose your desired template layout.
Padlet layouts
Wall
| Packs content in a brick-like layout in no particular order. |
| View an Example |
Canvas
| Allows content to be placed anywhere, resized and connected to other content on the page. |
| View an Example |
Stream
| Puts content in top-to-bottom or bottom-to-top order. |
| View an Example |
Grid
| Arranges content in rows of boxes in a particular order. |
| View an Example |
Shelf
| Organises content into a series of columns with a heading. |
| View an Example |
Backchannel
| A messaging environment displayed in a top-to-bottom discussion order. |
| View an Example |
Map
| Map where you can add content to particular location points. |
| View an Example |
Timeline
| Places content along a horizontal timeline. |
| View an Example |
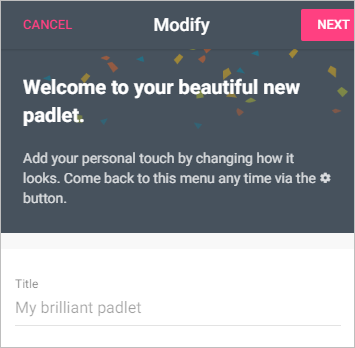
- The Modify sidebar will automatically appear.
Modify a Padlet's settings
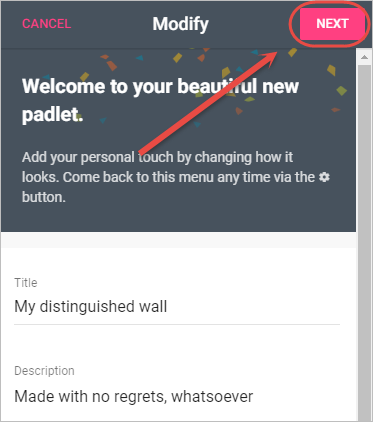
- Enter a title and description for your Padlet.
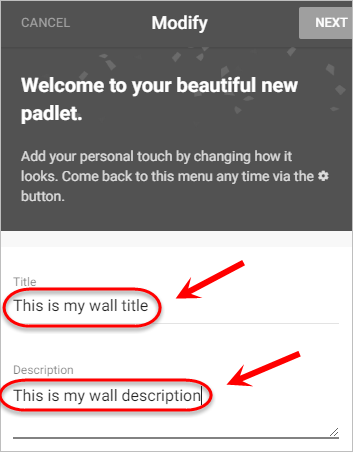
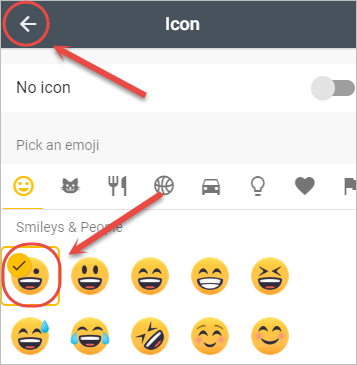
- Optionally, select Icon to choose an icon.

- Optionally, select your desired icon and then click on the arrow to go back.
- Optionally, change the address of your padlet to a relevant title, such as your course code.

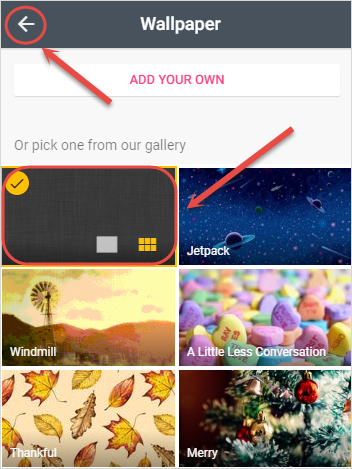
- Optionally, click on the default wallpaper button to choose a different wallpaper.

- Optionally, select your desired wallpaper and then click on the arrow to go back.
- Optionally, select either light or dark for the Colour Scheme options.
- Ensure the first font style is selected, as it appears best on all screens.

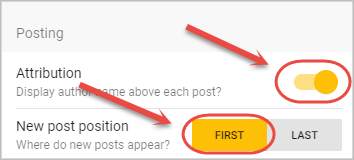
- Turn on Attribution so author names appear above each post.
- Select FIRST for New post position so new posts to appear first.
- Optionally, turn on Comments if you would like to be able to comment on other posts.
- Optionally, turn on Reactions if you would like to be able to Like, Vote, Star or Grade posts, ensuring the selected option has a yellow tick.
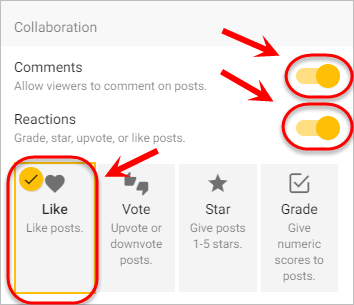
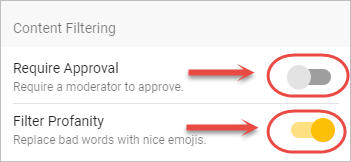
- Ensure Require Approval is turned OFF.
- Optionally, turn on Filter Profanity.
- Click on the NEXT button to complete the process.
- Click on the START POSTING button to close the side panel.

Share a Padlet
Acess share settings
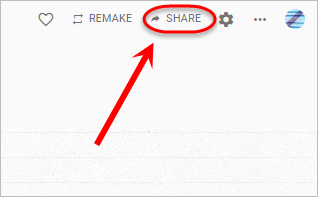
- Click on SHARE in the top menu to open the Share and Privacy menu.
Copy the Padlet link
- Click on Copy link to clipboard.
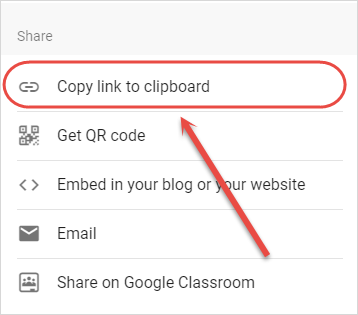
- Follow the submission instructions provided by your course coordinator to submit the Padlet link.
Give others access to the Padlet
Click on the ADD OR EDIT MEMBERS button.
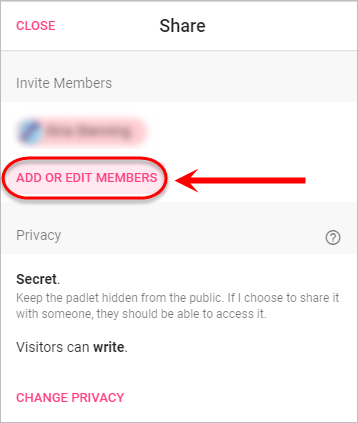
- Enter the student or staff member's email address in the search bar.
Note: When searching for students, enter their UQconnect email address (i.e. firstname.lastname@uqconnect.edu.au).
- Select the correct name from the list.
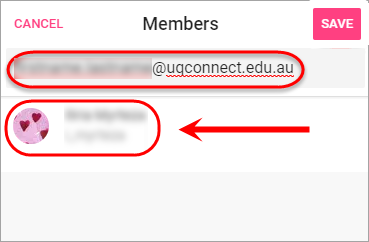
Note: If a name does not appear in the list, they will need to log into Padlet for the first time before they will appear.
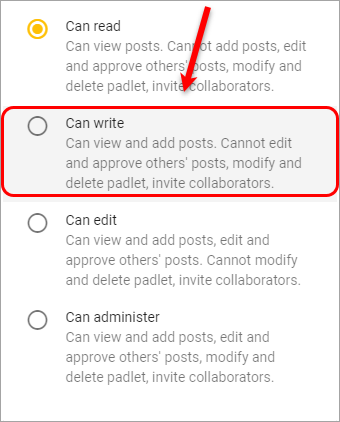
- Click on the Can read dropdown next to their name.
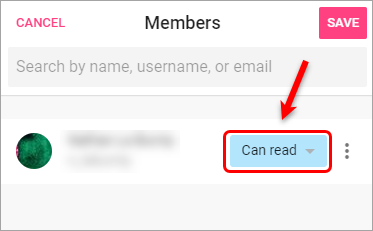
- Select Can write from the dropdown list.
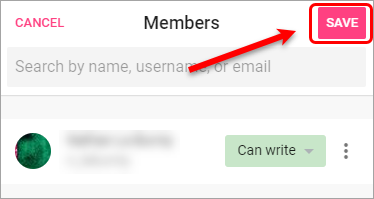
- Click on the SAVE button.
