Submit a video assignment with EchoVideo (Original)
Important: DO NOT delete a EchoVideo file that you have submitted as part of an assignment. This will make the file unavailable for marking by your instructor.
EchoVideo is a video server and is used by staff and students to store videos and audio files. The same system is used to record and publish lecture recordings.
For instructions and tips on recording your videos, please refer to the Record video or audio though EchoVideo guide.
For instructions on submitting video assignments in an Ultra course, please refer to the Video and Audio Assignments with EchoVideo (Ultra) guide.
For information on the recommended video upload settings, refer to the Video Content Recommendations guide.
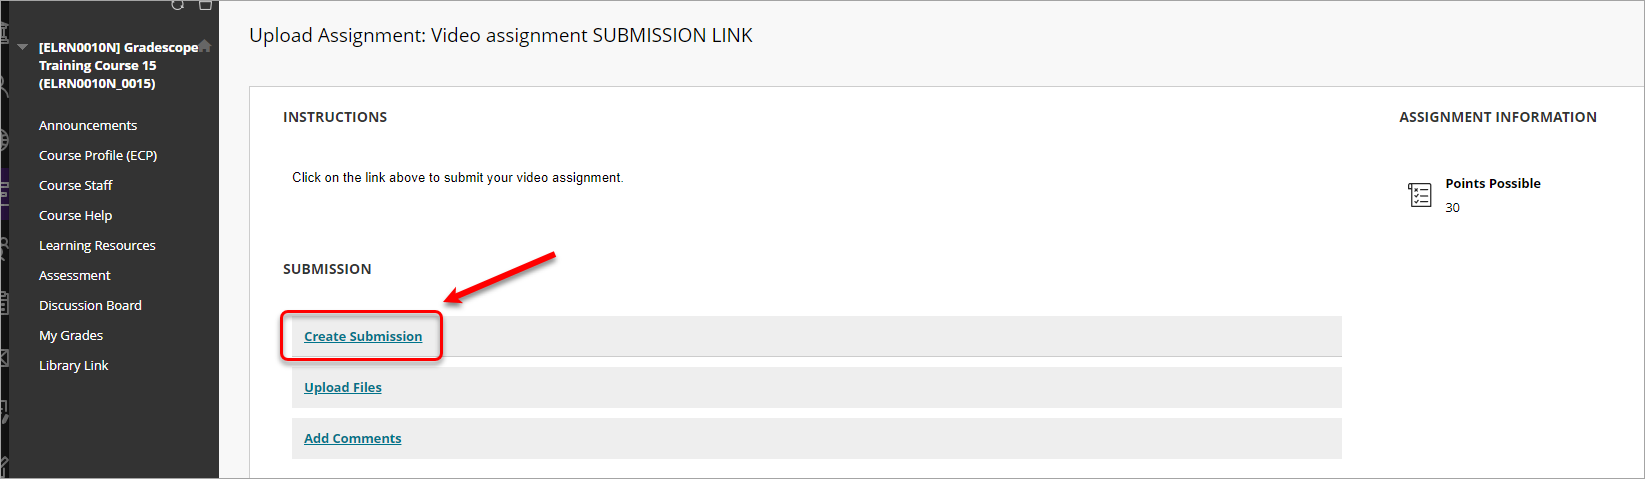
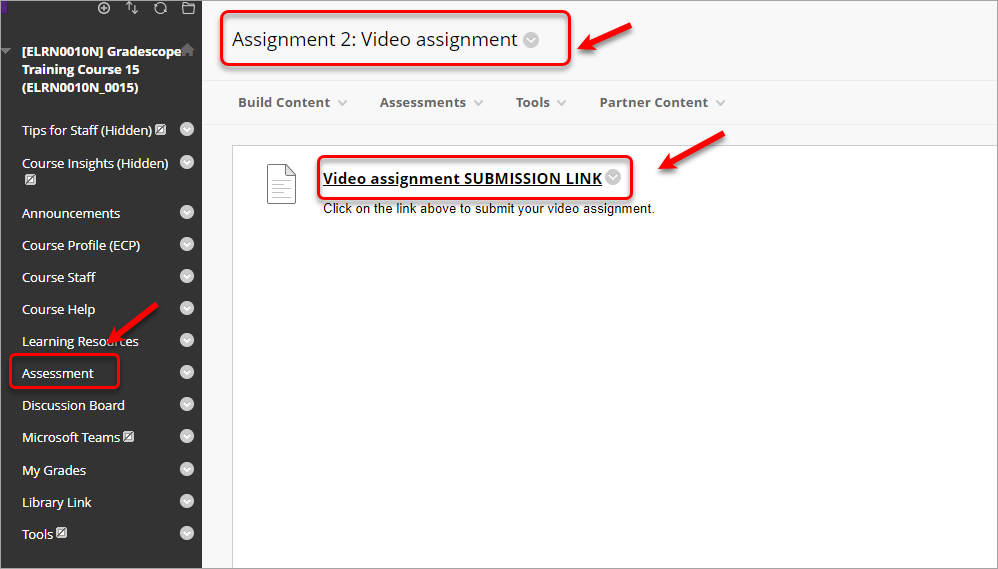
1. Access the assignment submission link
- Access your Learn.UQ course.
- Click on the Assessment folder and then click on the assessment task sub-folder.
- Click the link with the name of your assignment.
- Click on the Create Submission button.